Setting Up Your Online Profile

Hanif
Last Update vor 3 Monaten
Sfera.AI online profile is a comprehensive digital representation of your business, designed to enhance your online presence and facilitate customer interactions.
It provides essential information about your services, pricing, staff, and more, helping potential customers learn about your business and make informed decisions.
With Sfera.AI, you can easily showcase your offerings, build credibility, and attract more customers to your business.
Online Profile Walkthrough
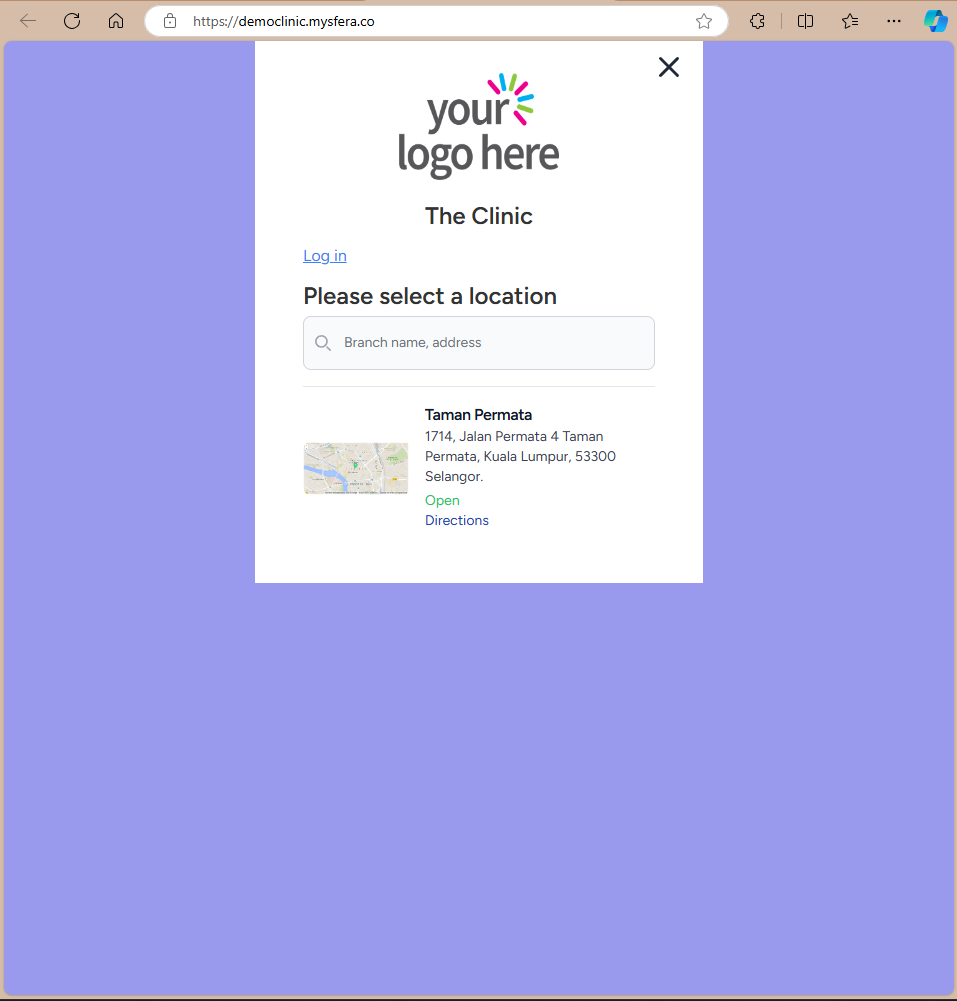
2. From the picture above, you can see that you have the option to select any location that captures your interest. Additionally, this section displays a login option, and by logging in, you'll gain access to a wider range of features and functionalities, allowing you to explore and make use of additional tools and services. Click on any location to continue.
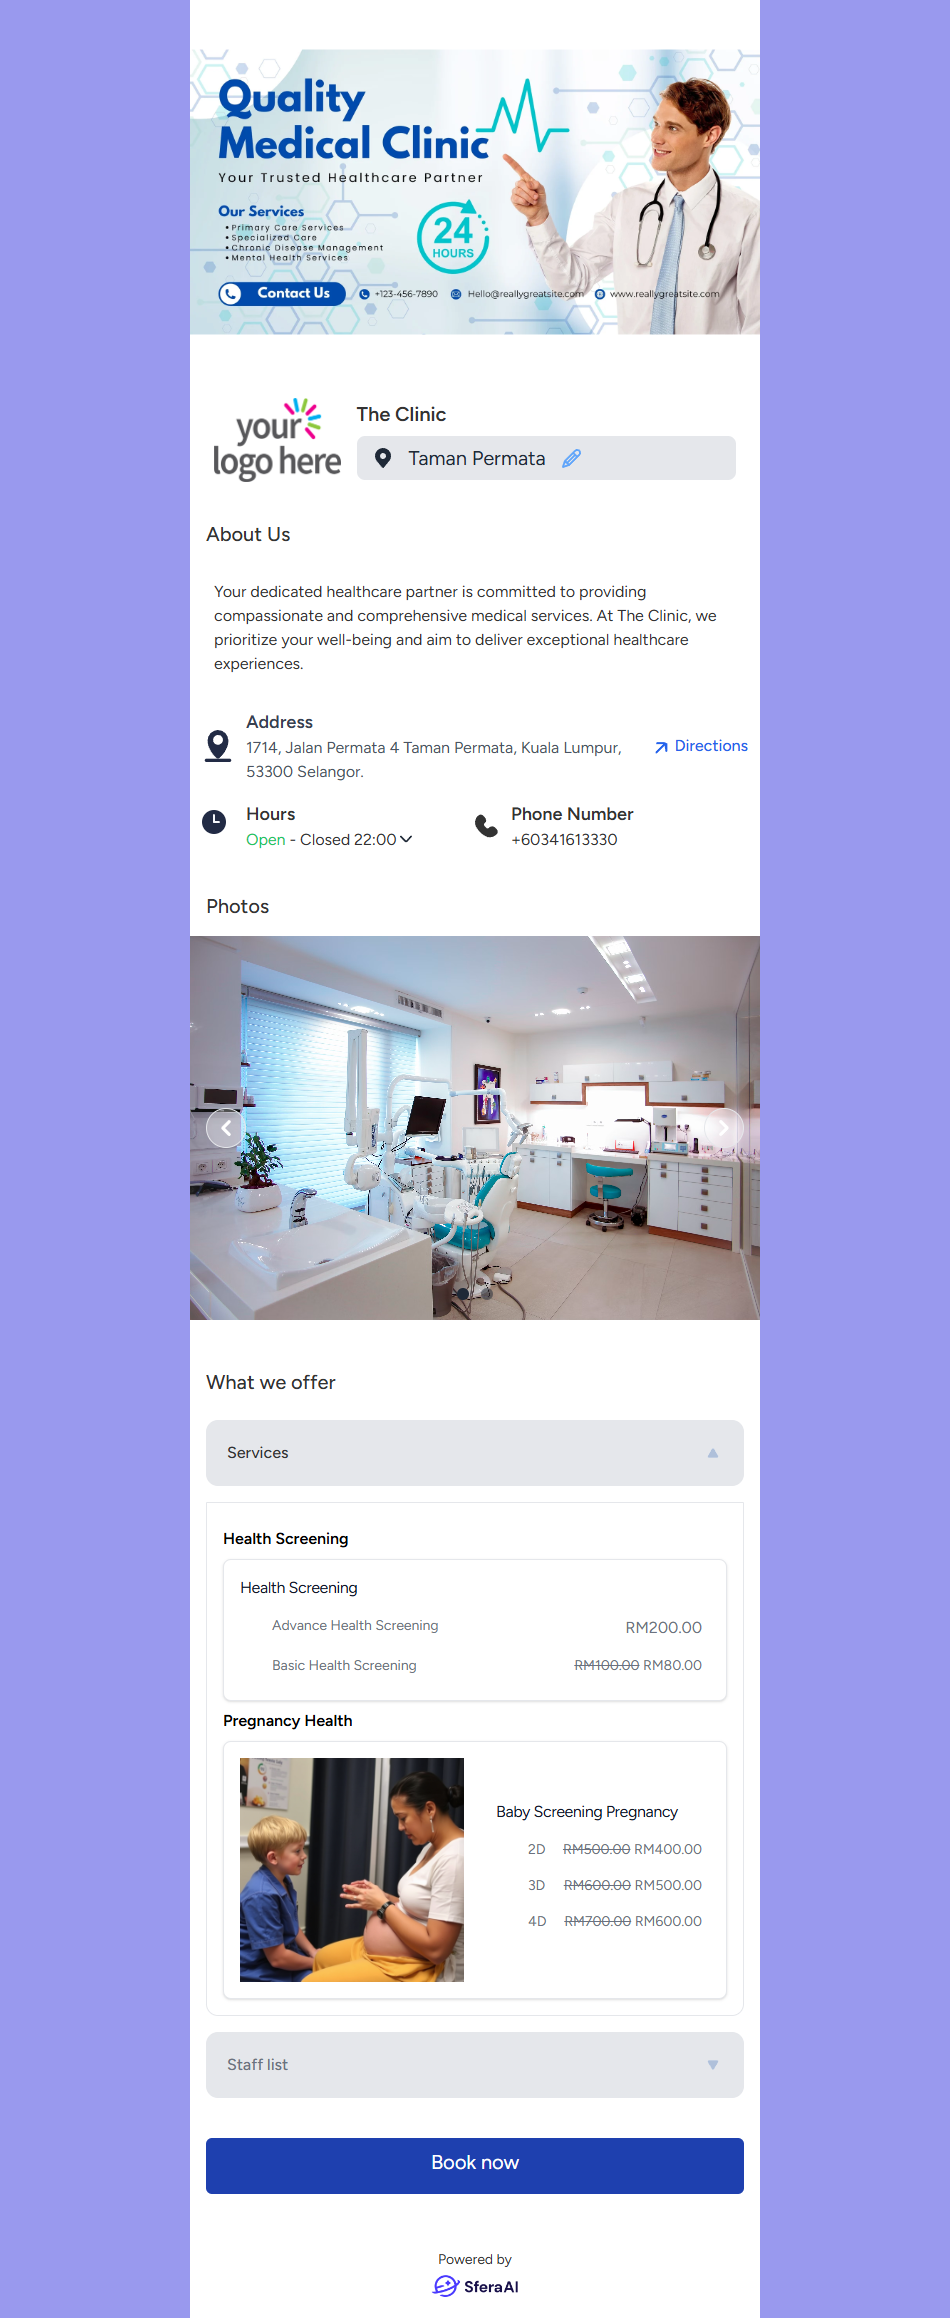
4. Click Book now to proceed.
5. After clicking "Book Now," Sfera AI offers three types of booking processes that merchants can set up. The type of process depends on the merchant’s preference:
a) Login First :
If the merchant sets up the booking process as "Login First," you will be prompted to enter your email address or mobile number. Click "Continue Booking."
- If you entered an email address, a login OTP will be sent to your email.
- If you entered a mobile number, the OTP will be sent to your phone.
- Enter the OTP and click "Continue Booking."
For new customers, you'll need to complete a registration form. For existing customers, you can proceed to log in to your profile.
- After successfully logging in, you will be directed to your user profile page, where you can access additional features.
- If you wish to make a booking, click "Next" and follow the steps through the wizard until the order is successfully placed.
b) Login Last:
In the "Login Last" setup, you are required to log in only before confirming the booking.
- The login process is the same as the "Login First" setup. After logging in, you can proceed to confirm and finalize your order.
c) Guest Booking :
"Guest Booking" is similar to "Login Last," but no login is required. Instead, you will be asked to fill out a form to proceed with confirming the booking. Once the booking is successful, you will be redirected to a secure public link.